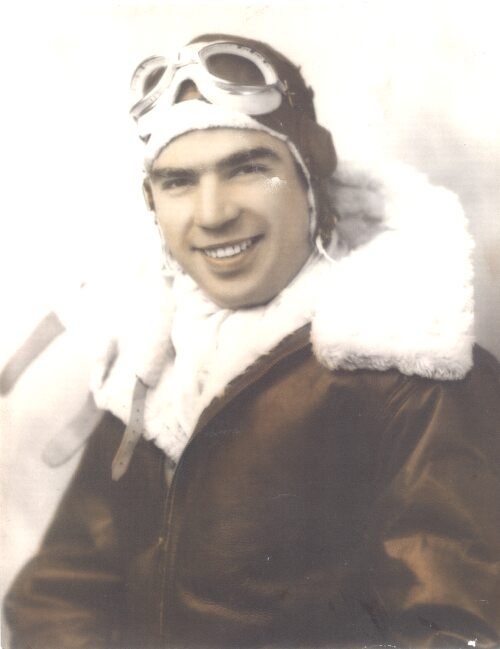
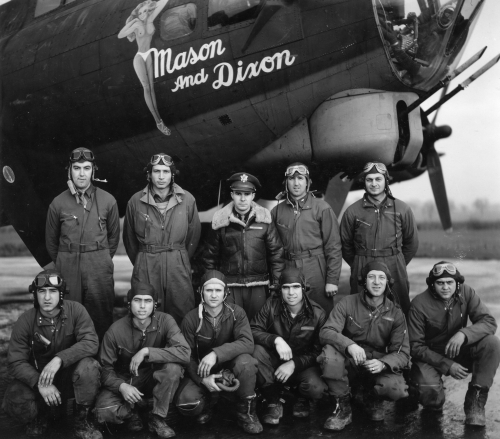
Video: John “Lucky” Luckadoo reads from Kevin Maurer’s Damn Lucky (link below)!

- Database
- Images
- Library
- Resources
-
-
-
Museum Connections
- National Museum of the Mighty Eighth AF (Pooler, Georgia)
- 100th Bomb Group Memorial Museum (Thorpe Abbotts)
- 390th Memorial Museum (Tucson, Arizona)
- Museum of Air Battle (Kovarska, Czech Republic)
- National World War II Museum (New Orleans, Louisiana)
-
Today’s 100th on Active Duty
- 100th Air Refueling Wing (Mildenhall, England)
-
-
-
- About
- Contact
- Database
- Images
- Library
- Resources
-
-
-
Museum Connections
- National Museum of the Mighty Eighth AF (Pooler, Georgia)
- 100th Bomb Group Memorial Museum (Thorpe Abbotts)
- 390th Memorial Museum (Tucson, Arizona)
- Museum of Air Battle (Kovarska, Czech Republic)
- National World War II Museum (New Orleans, Louisiana)
-
Today’s 100th on Active Duty
- 100th Air Refueling Wing (Mildenhall, England)
-
-
-
- About
- Contact